Showing posts with label How To ?. Show all posts
How to Fix Windows 8.1 Update Issues
With any new software update on any device, there are going to be small hiccups, little issues that cause users to not be able to download the update even though they should be able to. Windows 8.1, the free update for tablets, desktops and notebooks running Microsoft’s Windows 8 operating system isn’t any different.
Since its release users have reported random issues with not being able to download the update. Here’s what to do when Windows tells you your Windows 8.1 install couldn’t be completed.
Before proceeding, it’s a good idea to simply close the Windows Store app by clicking or tapping on its top and dragging it to the bottom of our screen. Then trying the update again. This could fix your issue and save you from having to proceed with the rest of this process. If that still hasn’t helped then continue.
The first thing you want to do if you see the error above on your screen is to restart your Windows 8 devices and try again. Remember to save any work you’ve been doing in the background before you restart first. After you’ve restarted, don’t open the Windows Store app.
If you’re still having trouble downloading the update. You’re going to need to open the Windows 8 Command Prompt. Go to the Start Screen by pressing the Windows key on your keyboard or by pressing the Windows button underneath your device’s display.
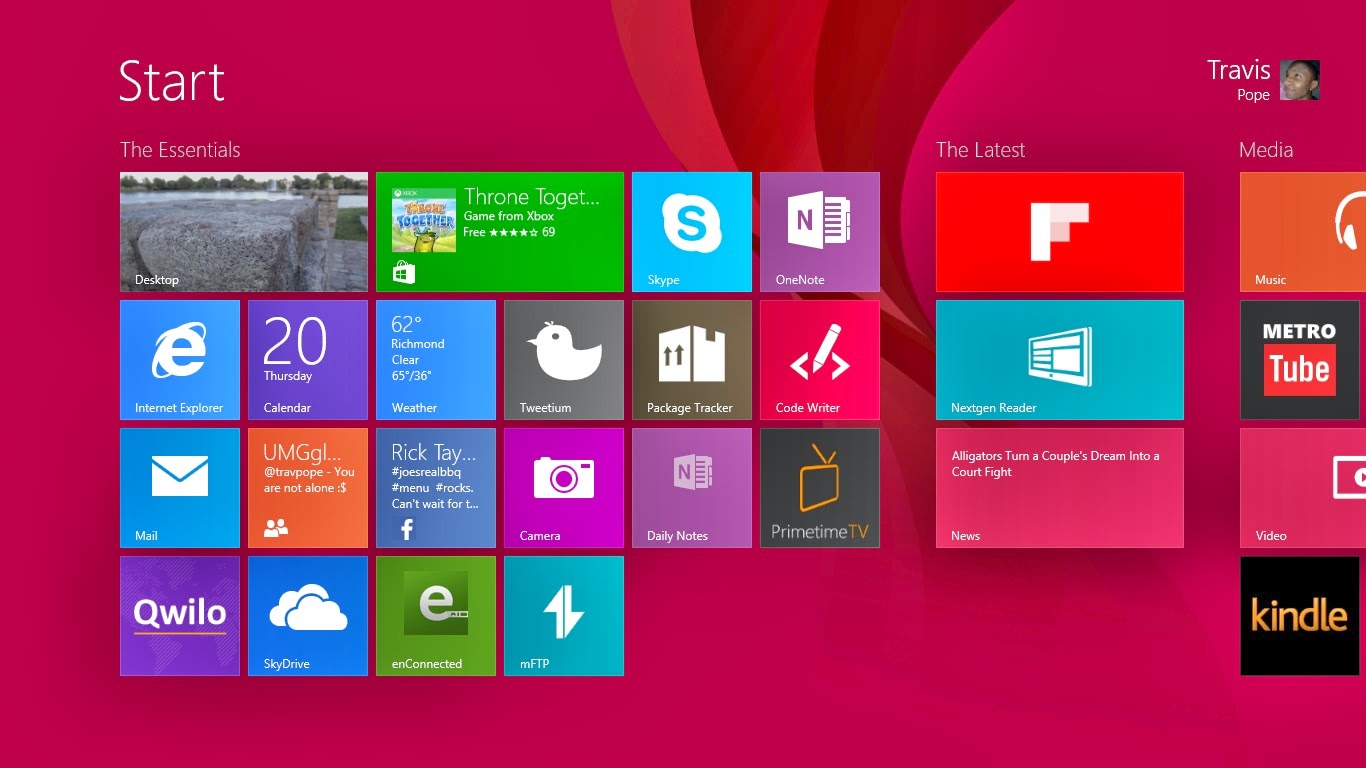
Right-click anywhere on the Start Screen and click on the All Apps button.
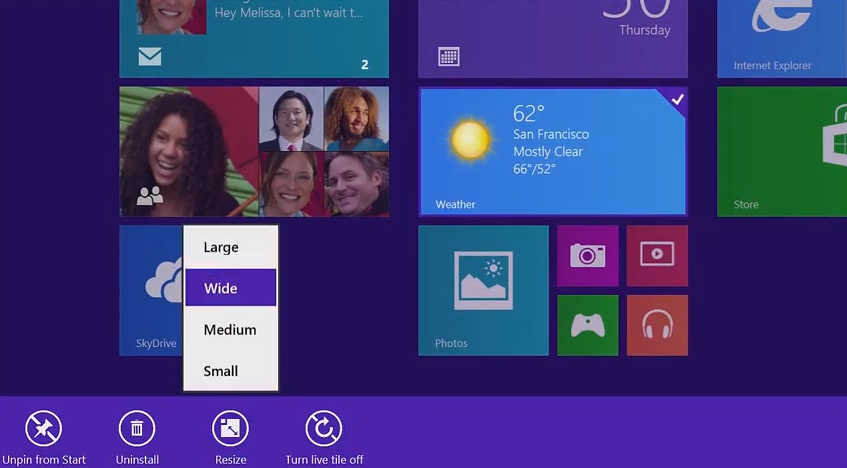
Now, find the Command Prompt option in the list of installed apps. Don’t left-click on it. Instead, right-click on it and select Run As Administrator from the menu on the bottom. Tablet users should place their finger on Command Prompt and then pull down on the app slightly to see the app menu.
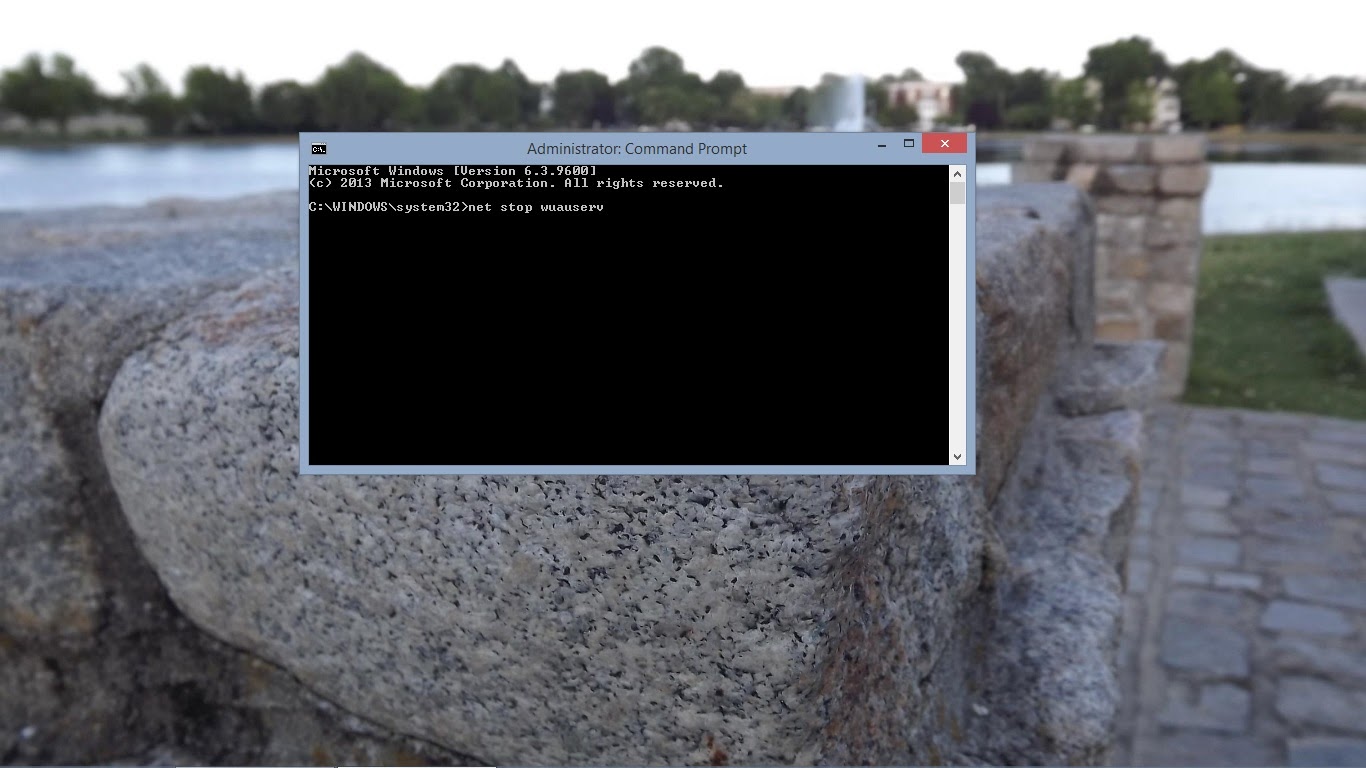
In the menu type ‘net stop wuauserv’ then hit enter on your keyboard.
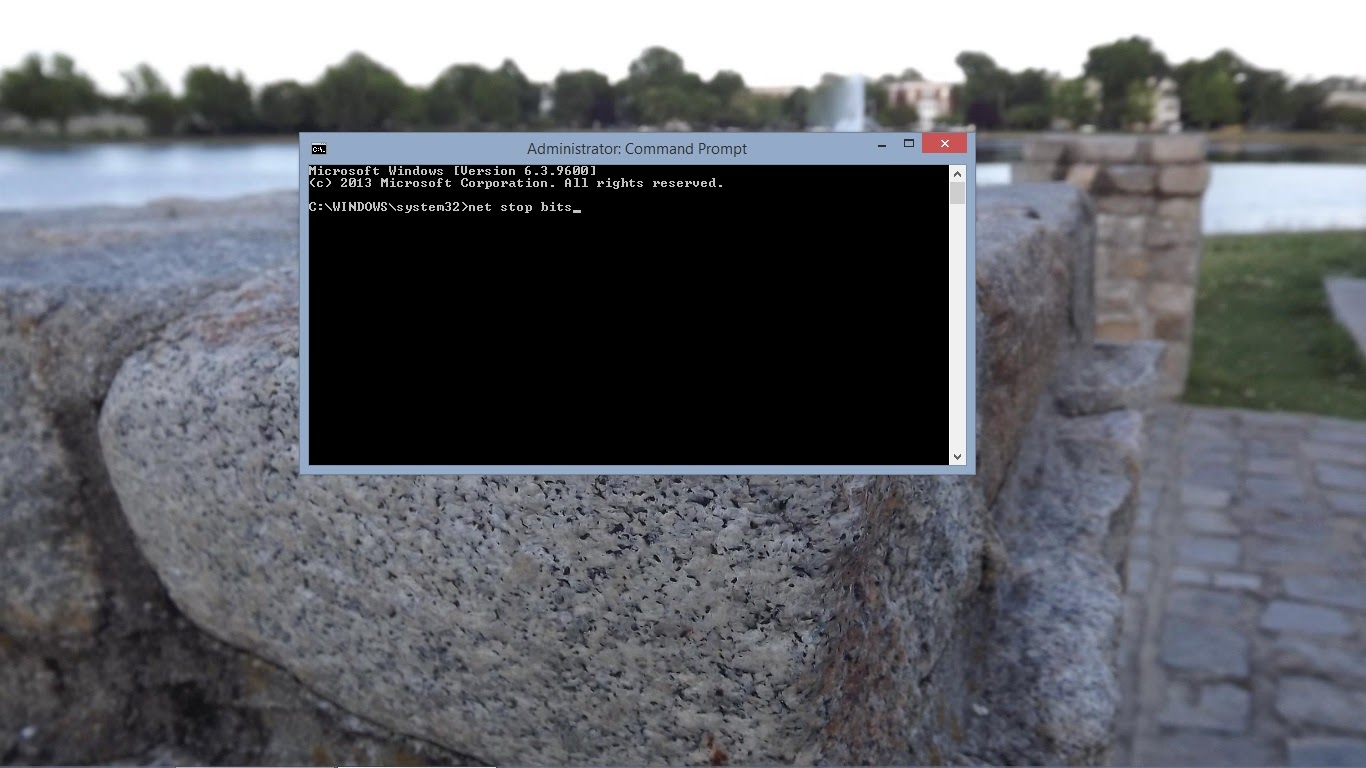
Now type ‘net stop bits’ then hit enter on your keyboard again.
Now open a file window by going back to the Desktop. Go the following location by manually typing it into the address bar or by copy and pasting it into the address bar in a file window: C:\Windows\SoftwareDistribution. Delete everything inside that folder.
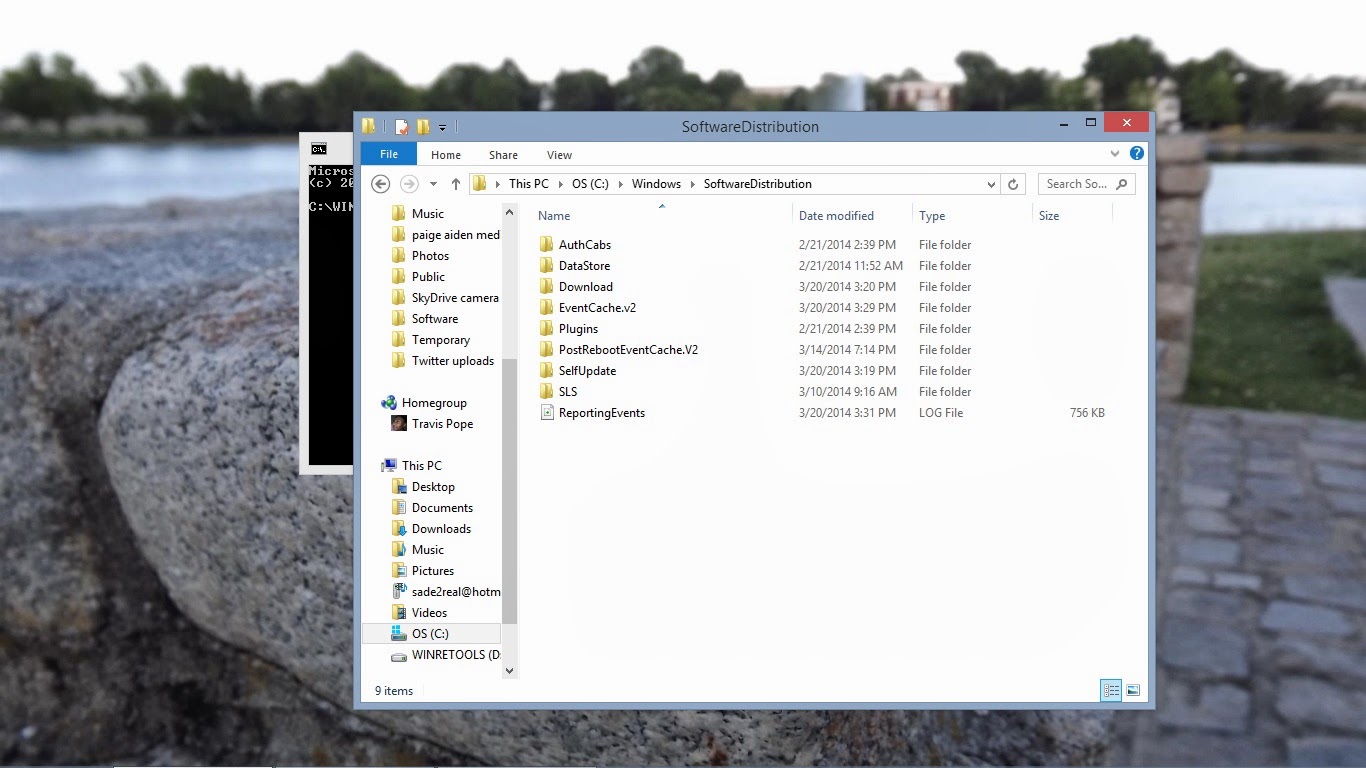
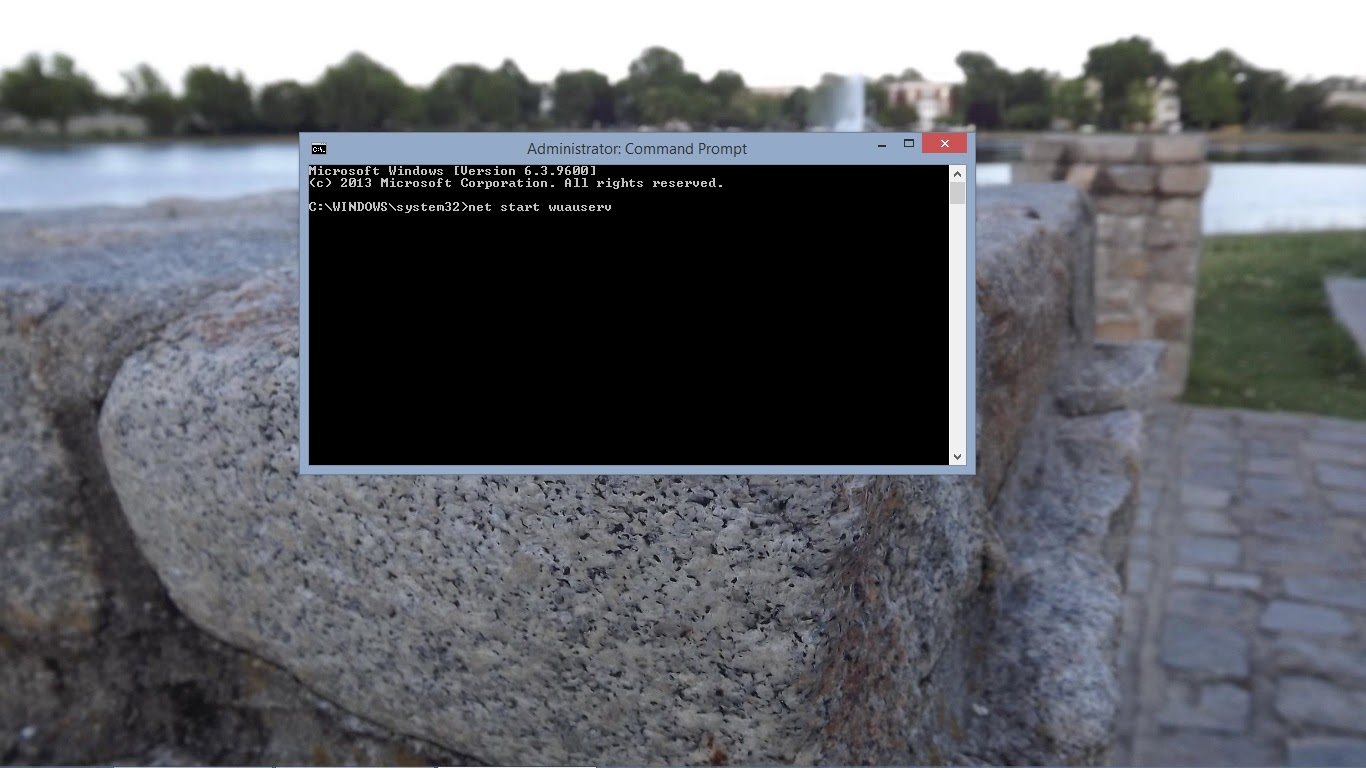
Now go back to the Command Prompt and type in ‘net start wuauserv’ then hit enter.
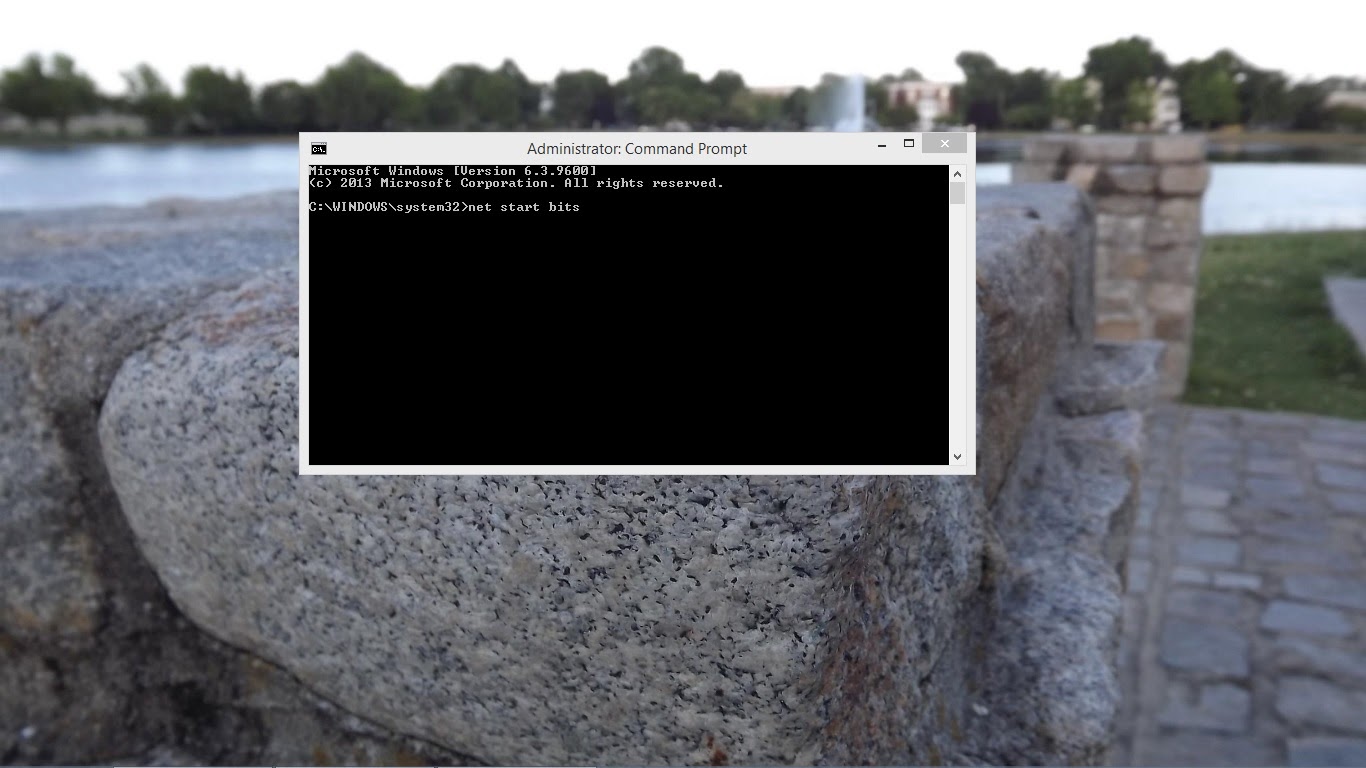
Next type ‘net start bits’ then hit enter.
Now head to the Windows Store and attempt to download Windows 8.1 again.
By now, you should be able to download the Windows 8.1 without any issues. Remember to make sure you’re on a stable internet connection and that your Windows 8 device is plugged in.
HOW TO CREATE A TORRENT ?
Torrents are great, they are the best way to share large files with your friends, or even with people you don't know at all. But surprisingly enough, not many people create torrents when they need to share something. I have "a lot of" friends who know how to download torrents, but when they need to send me their latest 200MB vacation picture collection, they ask me to "get on msn".
It’s not that I have anything against msn (although the file transfer sucks), but why don’t just use BitTorrent? Especially if you want to send something to more than one person, or if you want to share high quality HDTV files, because then you can share the bandwidth.
So how do you do this? Well it’s very simple. Open your favorite BitTorrent client and do the magic trick:
file > create torrent
That’s all? Well almost. All you need to do now is put in the tracker info and tick some boxes. This can differ somewhat from client to client but it all comes down to the same thing.
uTorrent
1. File > Create new Torrent (or CTRL + N)
2. Select the files and or directories
2. Select the files and or directories
3. Trackers: This is probably the hard part for most people. But it’s pretty easy, just put in one of the popular public trackers. You can use one or more trackers, but in general one is enough.
Here are some good trackers you can use:
http://open.tracker.thepiratebay.org/announce
http://www.torrent-downloads.to:2710/announce
http://denis.stalker.h3q.com:6969/announce
udp://denis.stalker.h3q.com:6969/announce
http://www.sumotracker.com/announce
Put one of these in the tracker box
4. Do NOT tick the private torrent box (unless you’re using a private tracker)
5. Save the torrent and send it to your friends
Bitcomet

1. File > Create Torrent (or CTRL + M)
2. Select the files and or directories
3. Select “enable public DHT network” from the dropdown box
This way you can be your own tracker if the public tracker goes down.
This way you can be your own tracker if the public tracker goes down.
4. Tracker server and DHT node list
Again, This is probably the hard part for most people. But it’s pretty easy, just put in one of the popular public trackers. You can use one or more trackers, but in general one is enough.
Again, This is probably the hard part for most people. But it’s pretty easy, just put in one of the popular public trackers. You can use one or more trackers, but in general one is enough.
Here are some of the most popular trackers at the moment:
http://open.tracker.thepiratebay.org/announce
http://www.torrent-downloads.to:2710/announce
http://denis.stalker.h3q.com:6969/announce
udp://denis.stalker.h3q.com:6969/announce
http://www.sumotracker.com/announce
Put one of these in the tracker box
5. Save the torrent and send it to your friends
Azureus

1. File > New Torrent (or CTRL + N)
2. Tick “use an external tracker”.
And again, This is probably the hard part for most people. But it’s pretty easy, just put in one of the popular public trackers.
And again, This is probably the hard part for most people. But it’s pretty easy, just put in one of the popular public trackers.
Here are some of the most popular trackers at the moment:
http://tracker.prq.to/announce
http://inferno.demonoid.com:3389/announce
http://tracker.bt-chat.com/announce
http://tracker.zerotracker.com:2710/announce
Put one of these in the tracker box
3. Select single file or dicectory, click NEXT and point to the file or directory you want to share, and click NEXT
4. Do NOT tick “private torrent”
5. Do tick “allow decentralized tracking”
6. Save the torrent and send it to your friends
& you are done.....
How to create signature in Gmail with image, logos and HTML links
 In this post we will see how to create signature in Gmail with image, logos and HTML links. One of the best ways to promote your business or brand is by email and we have made an article about importance of email marketing.
Sending an email to your customers and loyal subscribers from your own domain name rather than using Gmail shows the uniqueness of your brand.
1. Login to your Gmail account and drop down the geared symbol at the top right corner and open settings.

2. In general settings scroll down and you will see signature settings. Enable signature.

3. You have many options to add in your signature. To add text signature enter your address details or your name. Now you can select your font styles, font size and font color.

4. To insert image in signature click insert image icon and add it align it as you wish.
5. To link the signature image click on the image you inserted and select the link icon and enter the URL of the page.

6. Once done scroll down and click save changes.

Now whenever you send an email you will have a signature added below. Hope this article helped you on how to create signature in Gmail with images, Logos and HTML links.

Tag :
How To ?,
Tips n Tricks,


